Thursday, December 23, 2010

Homemade Holiday-Part Two


Lesson 8
Homemade Hostess Gifts


(Forget the bottle of wine, or just drink it yourself, and bring a baked treat to your next Holiday Party)


Just in time for Christmas! Laura Wright, the executive baker for 'Sweet Catastrophe', has given her ultimate Holiday Treat Recipe for her infamous Peppermint Patty Brownies! I know-chocolate, peppermint, gewy, yummy goodness! I served these most recently at The Ville's Holiday Fiesta and it was by far the shining star. I thought these top tier brownies would make the PERFECT hostess gift for my cousin Michelle, our hostess for Christmas Eve.

Christmas Eve is epic in my family. My first memories as a child are certainly from Christmas Eve. Just imagine boisterous, tan, fun, dancing, laughing, joking, loving, gift-giving madness good times!

80's Christmas with Michelle


'Sweet Catastrophe' is a Bake Shop about to take over Manhattan. If you get the lyrical reference then we should either be dating, best friends or you recently had a collapsed lung. ;) Here is a hint:


Peppermint Patty Brownies


Ingredients:

1 1/2 c chocolate wafer crumbs
1/3 c finely chopped pecans, (Not a fan of nuts? Use extra cookie crumbs instead of pecans)
1/3 c butter or margarine, melted
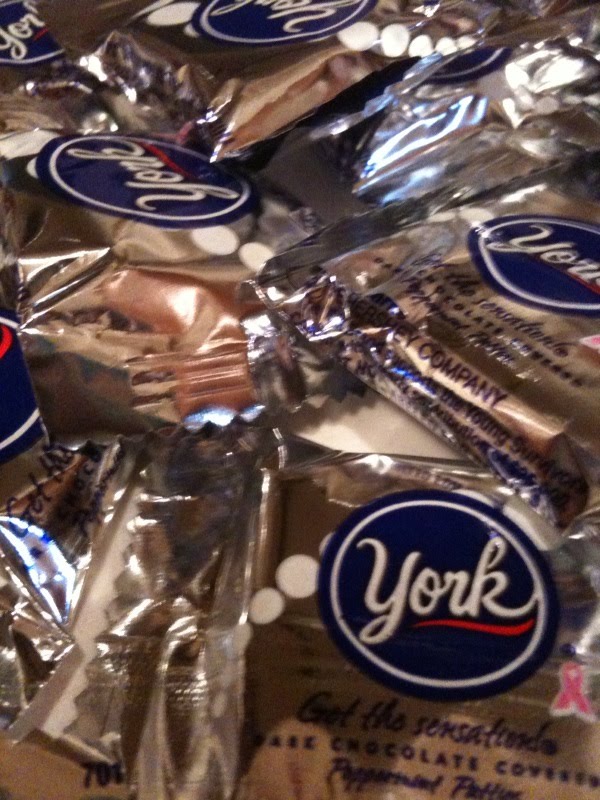
10 Peppermint patties, chopped
1/2 c butter or margarine
3 (1 oz) unsweetened choc.. squares
1 c sugar
2 large eggs, lightly beaten
1/2 t vanilla
1/2 t peppermint extract
1/2 c flour
1/8 t salt
14 Peppermint patties, halved

Procedure:

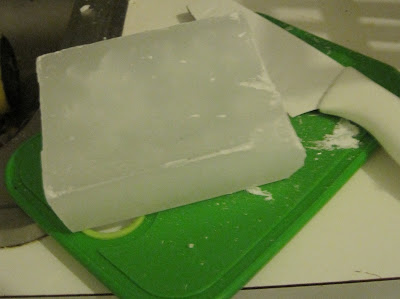
Line a 9 " square pan with aluminum foil, allowing it to extend over ends of pan.
Grease foil.
Stir together first 3 ingredients
Press into prepared pan
Bake at 350 for 10 minutes.
Sprinkle chopped PP over warm crust


While crust is baking, combine 1/2 cup butter and choc. squares in a glass bowl. Microwave on HIGH 1 minute or until butter melts. Stir until choc melts and mixture is smooth. Stir in sugar, eggs, vanilla and peppermint extract. Add flour and salt. Stir well. Pour over crust.


Bake at 350 for 33 minutes. Remove from oven. Immediately sprinkle with halved pps. Bake 2 1/2 more minutes. Remove from oven and let cool 1 minute. Spread and swirl softened patties over brownies.

Cool completely in pan on a wire rack .

Lift brownies out of pan and but into squares.

Yield: 2 1/2 dozen

  • Difficulty-3 out of 5. You do need to use a stove, measuring cups and really follow the recipe but the results are worth the effort!

  • Execution-I give myself an A because these brownies taste banging! And I asked for help from someone who knows best. Martha has a crew of experts and I am beginning to realize my friends are experts in their own right.

  • Fun Factor-What is there not to love? Melted chocolate and Peppermint Patties?!? I swear you just mix, melt, pour, bake and take some tastes in between steps. You can't help but smile while baking!

Many Thanks

to our contributor for today's recipe,

Laura Wright!


I owe you a date with Andrew BUT

we have to share him!


Tuesday, December 21, 2010

Homemade Holiday-Part One


Lesson 7

1991 Classic Martha Holiday Tip

Beach-Themed Christmas Decor


(Everyone knows I love a beach theme. What could be better than a 'splash' of summer during the holiday season?)


A brown box, a simple ribbon and
a gift made with love and care.

The moment this box was placed in my hands I knew its contents. I had become an avid Martha Living Magazine reader and Martha had outlined her favorite tips from Holiday Seasons Past. Martha's homage to 1991 took my breath away! Metallic Shell Candles! I thought this was such an ingenious idea. Two weeks later, my dear friend Jen Cust came over to my Manhattan pad for a vegetarian dinner, dessert and a surprise gift exchange. Jen gave a disclaimer, "You will have no idea what is inside but I can explain." She handed me the box and I blurted out, "OH MY GOD YOU MADE ME THE MARTHA BEACH CANDLES!!!" I ripped open the ribbon and one by one unpacked the pristine, metallic, perfect Martha Shell Candles! I was ALMOST as happy as this kid:


Jen was kind enough to explain IN DETAIL every step of making this fabulous holiday table topper:


Michael's
We begin with a trip to Michael's Arts & Crafts. I recommend scanning your local paper as there is bound to be a coupon. Also, Martha includes coupons in every issue of her Martha Living Magazine. You will need to purchase shells, gold spraypaint, wax, and wicks. BONUS: The wax comes with its own melting pot so no need to shy away from melting wax.


Graffiti
I have always want to be a cool street artist. On a totally off subject I am borderline obsessed with PK Kid or Kid PK. He has tags all over NJ and NYC. If you have never noticed before I just ruined it for you. You will now see it EVERYWHERE! Back to Martha, have your PK Kid moment and do the following:
  • Open the Windows

  • Line your Floor with newspaper or as Jen did with Whole Food Bags-She is too cute.
  • Place the shells on the covered area.

  • Shake the gold spray paint and spray each shell.

  • Hold the spray can at least 12" from the shells and be sure to cover the inside and outside of the shell.


Madame Wax

Not a fan of the Wax Museum. I have no desire to squeeze the wax J. Lo butt or stand next to a waxed Brangelina (Especially since I have experienced the REAL thing!)


For this project you will need to embrace the usage of wax. Cut the wax block into pieces and place in the provided pot. The shells should be placed face up on an adjacent counter. Pour the melted wax into the shells. Be sure to use the wax while wax is still warm and does not harden onto the pot. Place a wick into the center of the wax.

Display
I find that displaying the shells in a wave formation in the center of the table works best. I also adore the combination of shells with wax and those without. These simple pieces will make any Holiday Table sparkle with summer flair. LOVE IT!

One of the best gifts of 2010 was by far meeting Jen and our new sisterhood of homemade treats, dinners and new traditions of HOMEMADE HOLIDAYS!
Stay tuned for Homemade Holiday-Part Two
& my first attempt at Dessert Tables!
Also, check out Tipper Tap's new Blog:


Sunday, December 5, 2010

Presentation of Presents...


Lesson 6
Page 426

Tie it with a bow..


(An attempt to make the outside as pretty as what is inside. Like putting on make-up or hot rollers.)


'This the Season' for gift giving and what better time to master how to buy, wrap, tie, design and store all things GIFT WRAP! I have forever been a student of just slapping on the gift wrap to cover the box and using one of the pre-made stick-on bows/hoarding gift bags. Similarly, my grandmother used to actually SAVE the gift wrap. She would neatly undo the gift wrap, slip out the present and fold the gift wrap for later use. Time to upgrade my skills (Just in time for Jenny Bear's Birthday):

For this specific task I used three Martha Resources; Obviously, Home-Keeping Handbook, Martha Stewart Living Magazine, and http://www.marthastewart.com/.

Tools
1) Paper-As usual I began with a trip to the local Bullseye for the essentials. Rather than purchasing a roll of gift wrap I decided to make a 'crafty choice' and purchase a roll of brown butcher paper. The brown butcher paper would serve as my canvas and I would use Sharpies to create a pattern/ design.


2) Ribbon-I decided to swing by the holiday aisle for some extra special ribbon. As per Martha's suggestion for first time bow tie-ers I went with a wide satin ribbon. (In TURQUOISE of course!)


3) Tissue Paper-I love to tie in a color palette so I chose a printed paper that Incorporated turquoise, pink and purple.


4) Gift Toppers-I thought this was the CUTEST suggestion! Martha recommends adding a small but fun mini-gift to the top of each wrapped present. I chose these adorable mini ornament frames!


Organize the Presents
I decided to focus Jenny Bear's gifts around our favorite designer, Marc Jacobs. The gifts varied in size- small, medium and large. This became the inspiration for my gift wrap design. I decided to hand write on each paper roll. First I measured out the paper then began writing. This reminded of being a child and watching 'You Can't Do that on Television.' Do you recall the episodes where they would need to write out the same phrase on the chalk board. Anyone??


Holy Hand Cramp! The Office of Repetition was Open!

Box, Fold and Tape!


Grand Finale-I actually MADE the bows!


I was so scared! But do no sweat it Bow-Making Virgins. It was so easy! With the help of Martha online I was able to be make three different bows. At first I was not pleased with the Ikea like picture directions but it was surprisingly easy and FUN! Think tying your shoes with a twist!


Personal Touch

I could not just leave the generic photos in the mini-frames. I replaced each picture with a print-out of three hotties:

1,) James Franco (Jenny Bear's Number One for years!)


2) Mr. Schuster (Have you seen those abs? So hot for the teacher!)

3) Jason Stackhouse (No explanation needed!)


Best Part...
Jenny Bear's reaction to the gifts!

At the end of the day it is not the wrapping, what's inside but truly the person you give it to and the joy it brings.

May this year be the best yet!